

- BY
- POSTED IN Uncategorized
- WITH 0 COMMENTS
- PERMALINK
- STANDARD POST TYPE
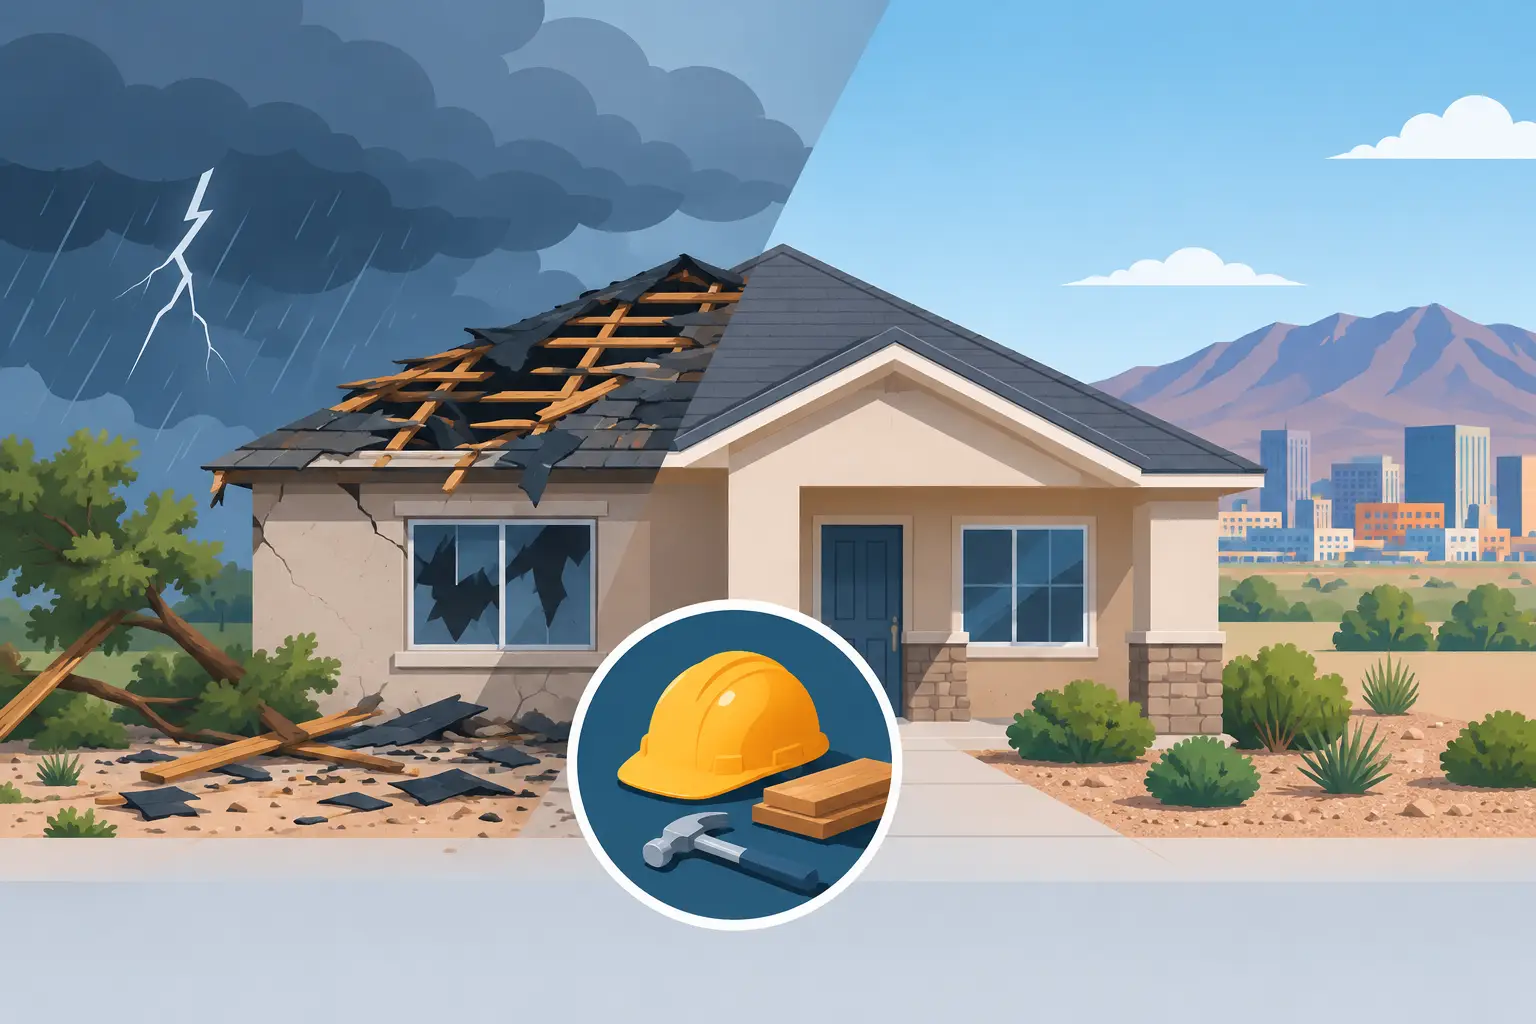
A roof can look mostly intact from the street after a hard El Paso storm and still have damage that lets water into the building. That is what makes a storm damage repair case study useful: it shows why a fast inspection, a complete scope of work, and one accountable contractor matter more than a quick patch.
The following is a representative residential scenario based on the types of storm-related issues property owners commonly face in the El Paso area. Every roof, storm event, and insurance situation is different, but the repair process shows how damage should be assessed and corrected before a small leak turns into a larger construction problem.
Storm Damage Repair Case Study: A Small Leak With Bigger Risks
The property was a single-story home with an aging shingle roof, stucco exterior walls, and a covered patio. After a severe wind and rain event, the homeowner noticed a brown water mark forming on the living room ceiling. The stain appeared two days after the storm, not during it, which is common when trapped moisture slowly works its way through insulation and drywall.
From the ground, the roof did not appear to have major missing sections. There were no obvious holes, no tree impact, and no water pouring through the ceiling. That can give a homeowner false confidence. Storm damage is often concentrated at vulnerable points such as ridge caps, valleys, roof-to-wall transitions, vents, pipe flashings, and the edges of shingles exposed to wind uplift.
The homeowner needed more than someone to cover the visible stain. The priorities were to stop water entry, determine whether moisture had affected the roof deck or insulation, protect the interior, and make sure the repair would stand up to the next round of weather.
Step One: Inspect the Full Roofing System
A proper storm inspection starts with the whole system, not just the location directly above an interior leak. Water can travel along framing, underlayment, or the roof deck before it becomes visible inside.
The roof inspection found several related issues. Wind had lifted and creased shingles near a valley, weakening the seal that keeps water moving toward the gutter line. Granule loss was visible in the affected area, reducing the shingles’ ability to handle sun exposure over time. The valley flashing had also shifted slightly, creating a path for wind-driven rain to reach the underlayment.
Inside the attic, the crew found damp insulation below that section of roof and light moisture staining on the underside of the roof deck. The deck remained structurally sound, which was good news. Because the problem was caught early, replacement of large sections of decking was not necessary.
This is an important trade-off in storm repair. A roof may not need full replacement simply because it has a leak. At the same time, replacing only one visibly damaged shingle can be inadequate when surrounding shingles have lost their seal or the flashing beneath them has been compromised. The correct repair depends on the condition of the materials around the damaged area, the roof’s age, and whether the existing system can still provide reliable weather protection.
Step Two: Stabilize the Property Before Repair Work
Before permanent repairs began, the affected area was protected from additional moisture. Temporary weatherproofing helped prevent another rain event from making the damage worse while materials and scheduling were coordinated.
Inside the home, the damp insulation was removed from the limited affected section. Wet insulation does not perform as intended, and leaving it in place can hold moisture against framing and drywall. The ceiling area was checked for softness, staining, and signs that water had spread beyond the original mark.
The drywall did not require full replacement in this case. After the source of the leak was addressed and the area had dried properly, the ceiling could be repaired, textured, and painted. If the drywall had sagged, softened, or developed extensive staining, replacement would have been the better option. This is why roofing and interior repair should be considered together after a storm, especially when water has entered the home.
Step Three: Repair the Cause, Not Just the Symptom
The permanent roofing work focused on restoring the valley assembly rather than simply applying roof cement over the damaged area. The affected shingles were carefully removed, damaged underlayment was replaced, and the valley flashing was reset to create a dependable water path.
New compatible shingles were installed with attention to fastening, overlap, and sealing. Ridge and adjacent shingle areas were checked for wind damage as part of the same repair, because isolated repairs can fail when nearby materials have already been loosened by the same storm.
The crew also inspected penetrations and transitions near the affected roof plane. Flashing around vents and other roof details often takes the hardest hit during wind events. A repair is only as dependable as the system around it. Replacing shingles without correcting weak flashing can leave the homeowner with another leak during the next hard rain.
For an older roof with widespread granule loss, brittle shingles, or recurring leaks in several areas, a more extensive repair or roof replacement may be the smarter long-term investment. In this case, the roof still had useful life remaining, and a targeted repair provided the right balance of cost control and dependable protection.
Step Four: Restore the Interior and Verify the Work
Once the exterior repair was complete and the affected area was dry, the interior ceiling was restored. The process included patching the damaged surface, matching the existing texture as closely as possible, priming the repair, and repainting the area for a clean finish.
The project did not end when the last shingle was installed. Final verification included checking the repaired valley, confirming that flashing was secure, reviewing the interior repair, and cleaning the work area. For property owners, that final walkthrough is where the value of a full-service contractor becomes clear. Roof damage can involve roofing, insulation, drywall, painting, stucco, or exterior trim. Managing those needs under one experienced team reduces handoffs and helps keep responsibility clear.
What This Case Study Shows El Paso Property Owners
Storm damage is not always dramatic. A few lifted shingles, a shifted flashing detail, or a small opening in the underlayment can be enough to damage insulation and create a ceiling stain. Delaying an inspection because the leak seems minor can allow water to affect more of the building than necessary.
After a storm, property owners should look for ceiling discoloration, peeling paint, damp attic insulation, missing or creased shingles, loose metal flashing, debris on the roof, and water around windows or exterior wall transitions. Commercial property owners should also monitor ceiling tiles, rooftop drains, parapet walls, flat roof seams, and areas around HVAC equipment.
Taking photographs after the storm can be helpful for documenting conditions. However, safety comes first. Do not climb onto a wet or damaged roof to inspect it yourself. A professional inspection can identify whether the issue is limited to a repair area or whether the roof needs a broader maintenance or replacement plan.
A Better Response Starts With One Clear Scope
The strongest storm repairs begin with an honest assessment. Property owners deserve to know what failed, why it failed, what materials are needed to correct it, and whether related interior or exterior work should be included in the project.
MAK Roofing & Construction helps El Paso homeowners and commercial property owners address roofing and exterior damage with experienced crews, quality materials, and complete project management. Whether the solution is a focused roof repair, a roof coating, a replacement system, or coordinated drywall and painting work, the goal is the same: protect the property and restore confidence before the next storm arrives.
If you have noticed a leak, loose roofing material, or water staining after severe weather, schedule an inspection promptly. A clear plan today can keep a manageable repair from becoming a much larger project later.